First steps with c:geo

This page will help you to get started with c:geo. It describes how to set it up for the first use and will help you to understand the configuration wizard shown on the first start of c:geo.
For instructions about how to install c:geo, please refer to our installation page.
In order to use c:geo, you need an account of a geocaching service of your choice. Without such an account c:geo will not show any caches!
If you do not yet own such a geocaching account, c:geo can guide you to the registration page of your desired geocaching service during the setup, so that you can create an account (Basic accounts are usually free of charge).
Alternatively you should create an account in beforehand on the website of the geocaching service and use the credentials while setting up c:geo.
You can find more information regarding the geocaching services supported by c:geo here.
On the first startup after installing c:geo a configuration wizard will help you to get going by guiding you through the essential configuration and setup steps. While the configuration wizard should be self explanatory, we will give you some more guide and background on this page. Follow the red marks in the following pictures to get through the process. Orange marks will show optional steps or provide additional hints. You can click on the images below to enlarge them.
| Wizard screen | Explanation |
|---|---|
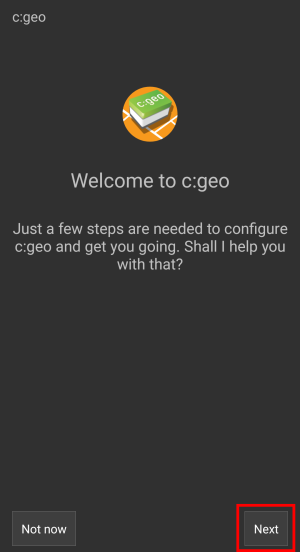 | Tap Next to start the configuration wizard. If you are an advanced user and want to configure c:geo manually or you want to run the setup later, you might tap on Not Now to bypass the wizard.As long as the setup is not completed, the wizard will be shown on each start of c:geo or you can manually start it by selecting Configuration wizard in the title bar menu on the main screen. |
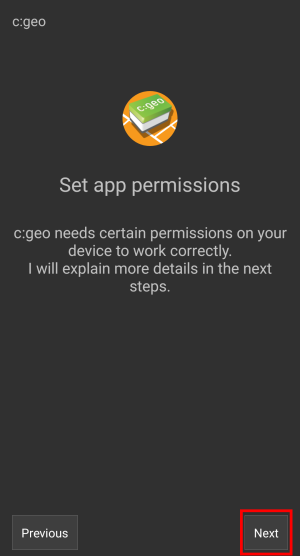 | The wizard will ask for the permissions c:geo needs on your device and provide an explanation about why these permissions are needed. Please note, that c:geo will not run without these permissions! Depending on your Android version the permission steps of the wizard might be skipped, as you provided the permissions already while installing c:geo.
|
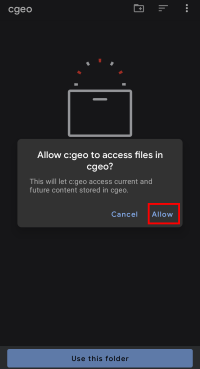
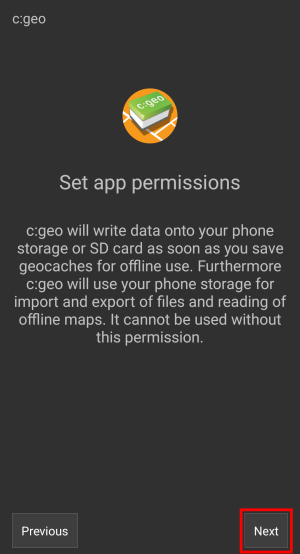 | After tapping Next on this screen you will be asked to provide c:geo permission to access your file system to read and store data. This is needed to store geocaches for offline use. Furthermore c:geo can import and export GPX files, offline logs and some more.An Android dialog will now show up and ask you to confirm this by tapping Allow.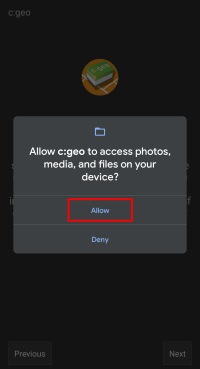 |
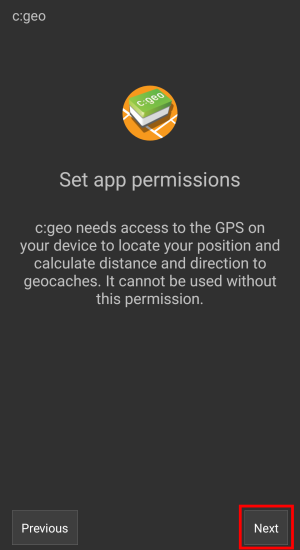 | After tapping Next on this screen you will be asked to provide c:geo permission to access your location. This is needed as c:geo uses your location to calculate distance and direction to geocaches and show your position on a map.An Android dialog will now show up and ask you to confirm this by tapping While using the app. 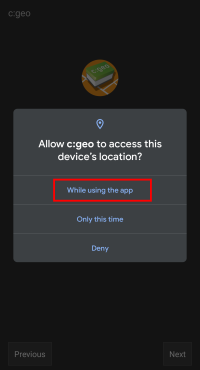 |
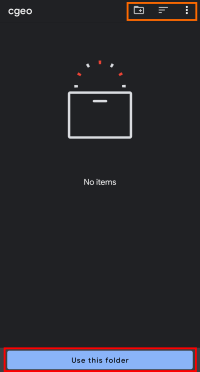
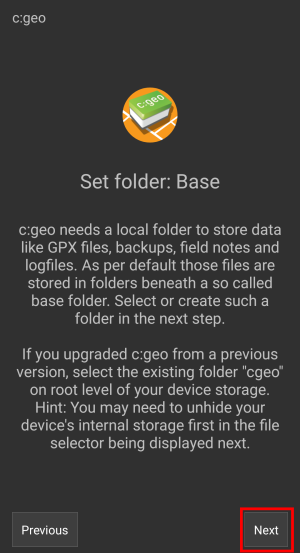 | c:geo will store all its user accessible data (like GPX files, offline logs, etc.) below a base folder, which you have to create or select in the next step and provide c:geo access to that folder. You can choose any folder you would like to use, we however recommend to use /cgeo/ on your internal storage.After tapping on Next an Android directory selector will show up, which lets you navigate through your folders and allows you to create or select the desired folder. Note the menu I(marked in orange below) which offers more options like selecting the storage (e.g. internal or SD card) or creating a new folder. Once you selected the desired location tap Use this folder and afterwards tap Allow to confirm. As the directory selector is part of your Android operating system it might look slightly different depending on device and Android version. |
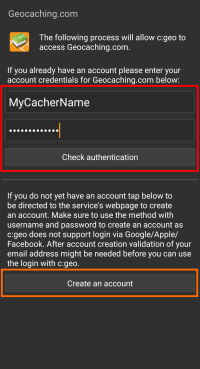
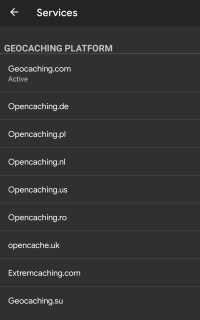
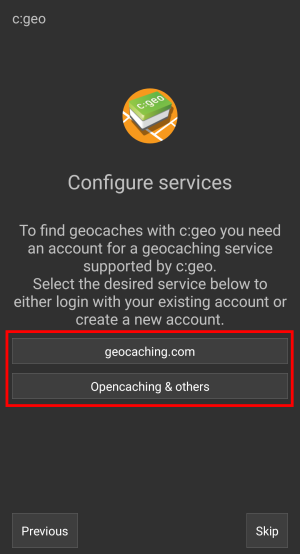 | Now you need to setup the connection to your desired geocaching service by either tapping on geocaching.com or Opencaching & others.After tapping geocaching.com you will see the authentication page, where you have to enter your existing login credentials for the website of geocaching.com.If you do not yet own an account, you can go to the account creation page by tapping Create an account (see orange marked box below). This will open the geocaching.com registration page, where you can create your account.Please note, that c:geo does not support authorization with Google, Facebook or Apple. Therefore please use the plain username/password method instead for account creation and login. Learn in our FAQ how to retrieve a password for your account. If the registration fails, please take a look in our FAQ to get help.
When tapping |
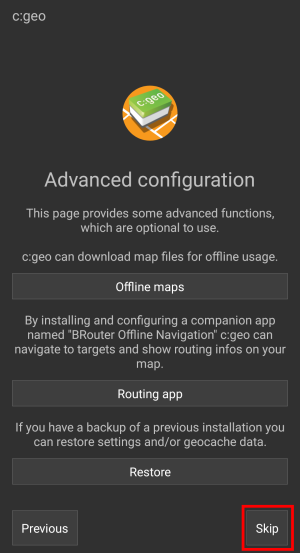 | This step of the wizard provides advanced setup options, which are optional. Experienced users might use this step to download offline maps, companion Router apps or restore existing c:geo backups. Here are some links to the relevant user guide pages for these advanced features: Downloading and using offline maps with c:geo Using Brouter with c:geo Restoring backups If you are first time user you might just select Skip for now. The mentioned options can also be configured manually at a later point of time. |
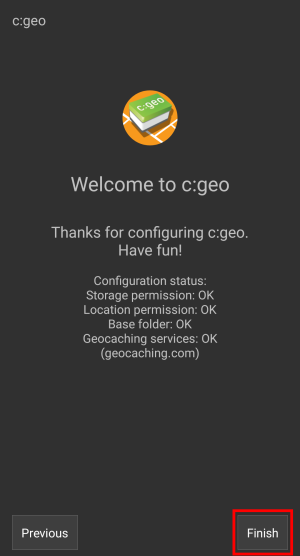 | The least screen of the configuration wizard provides a summary of the results. Ideally it should look like the example shown. If some steps are shown as not completed you might use Previous to go back and check again, else just tap on Finish to close the wizard.Happy Caching with c:geo! |
After completing the configuration wizard you will be taken to the c:geo main screen. Continue on our Basic use page to learn how to find your first cache with c:geo.
